Sunday, April 17, 2011

Welcome baby!

Agh!!! I can FINALLY write about this!!! I have been barely holding myself back from blogging about this for weeks. Weeks I said! Today is my friend Andi's baby shower and while I would love to be there, small problem. It's in Vegas. I'm in Honolulu. So since I couldn't be there, I sent cookies. The only problem was that I didn't want her to know what I was doing. Now, I love surprises...when I'm the one doing them. Unless you plan on showing up with a cashier's check for a gazillion dollars, please don't surprise me. I had to avoid her for a few weeks lest I slip and either hint as to what I was doing or just come right out and say it.

You may ask yourself how I managed to do this and the answer is easy. I managed to use my cyberskills *insert eye roll here* to contact the person hosting the shower (thank goodness for Facebook!) and asked about sending cookies for the party. I think it helped that Andi asked me to do bring some cookies to Vegas last summer to celebrate the hostess' baby. Once we agreed that I would be able to participate, in my typical fashion, I'm steamrolled my way into a design and didn't ask for any one's opinion.

I had seen the cutest baby cookies on Amanda's blog at I Am Baker and I had been waiting for an occasion to make them. Since Andi doesn't know what she is having, I thought this was the perfect opportunity. The invite was polka dots and the decor was blocks so I decided to combine all 3. I didn't have a block cookie cutter but since it was less than 3 dozen cookies and went ahead and hand-cut them. It's a little crazy but if you think about, the cookie was straight lines so it was easy to do.
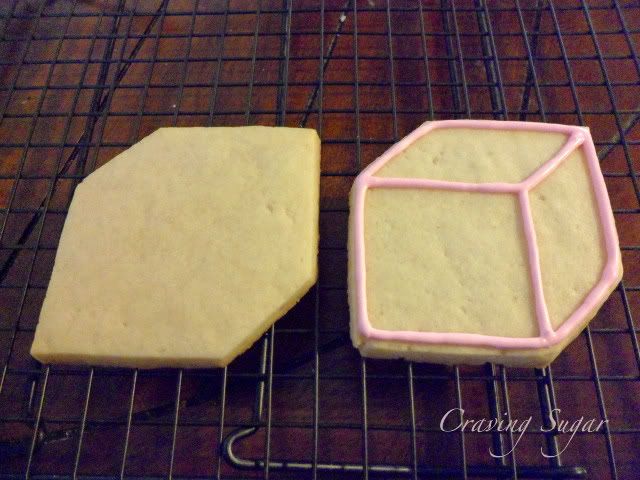
I'm so glad I took a picture of the cookie with straight lines!
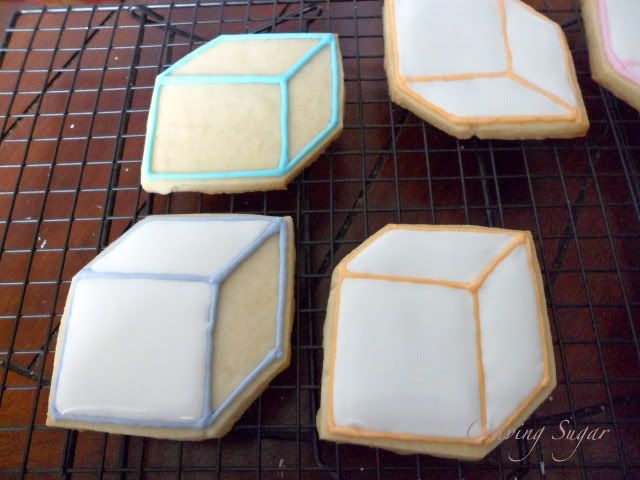

Once baked I added lines to notate the sides of the block and flooded the cookie. Once that was dry, it was really time to have fun. I didn't do any a lot of wet-on-wet with these cookies but I did incorporate lay-ons, my poor un-used food color pens, and disco dust. Somehow my orange dust seemed larger than the blue and green so I didn't care for that much. I am making some dragonflies this weekend though so the blue and green dusts are getting another workout.
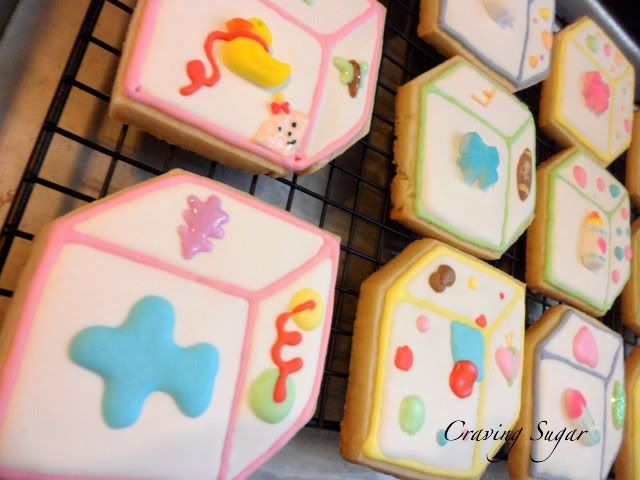

Half of the babies were girls so I used teeny tiny hearts to make bows. I used a pair of white hearts for one cookie...it turned out too much like Pebbles from the Flintstones for me.
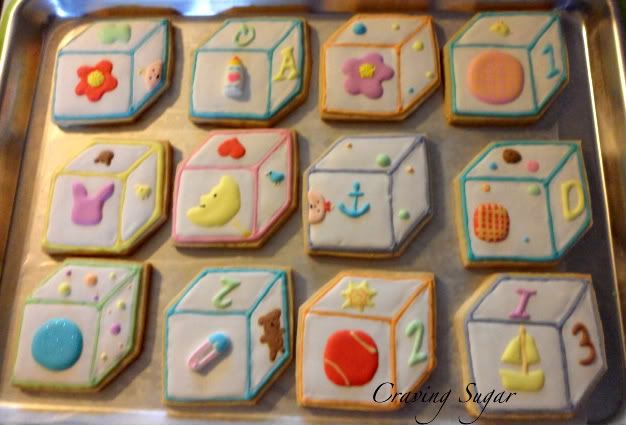

Now, I dislike tying ribbon on bags but since I wanted to send these 100% complete, I found polka dot ribbon started to cut them, and wouldn't you know it, I didn't have enough ribbon! These guys had to go out the following day in order to make it to Vegas in time but I REALLY didn't want to go back out. I ended up kicking my husband off of the computer (it's okay, he was only playing Bejeweled) and trying to figure out how to make a cute tag that would tie in.

Now, here's where those cyber-stalker skills came in handy again. Andi had painted a mural onto her nursery wall and posted a pic of it. I copied the pic, pasted into Word and added a text box. Tags complete! Look at me - I can work in IT. Not. I'm happy to say that each cookie arrived safely thanks to self-sticking bubble wrap. The next time I ship cookies I am definitely using that again!
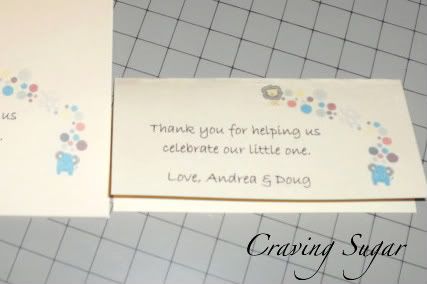
Yes, that's one of those school paper cutters. Doesn't every home have one?
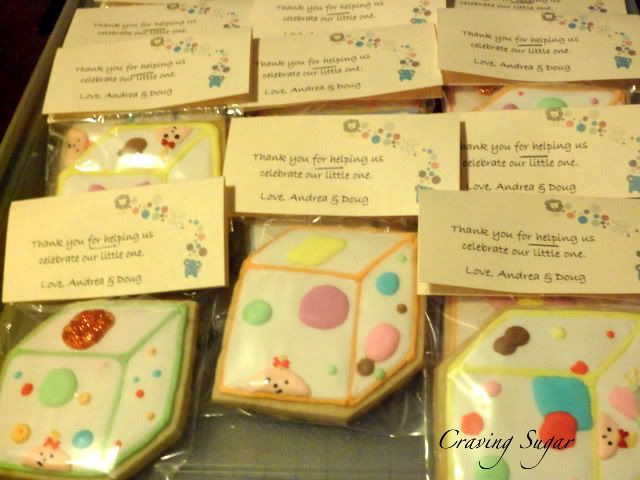

Congratulations Andi & Doug! I hope you had a fantastic shower! And if you happen to see this on FB before you find out the cookies are from me, you never saw this!

Amanda from I Am Baker, thanks for sharing your great idea!

Friday, March 25, 2011

Cookies and a good-bye


Last week was a sad week. We laid to rest a man who, is his 92 years on this earth experienced things that many of us have only read about. A man without whom I would need not be married to a man that I love deeply and who infuriates me every day [=o) ] We laid Grandpa C. to rest one week ago yesterday and while it was sad to see him go, we rejoiced knowing that he made it to 92. Quite a feat! (He passed the day after his birthday.) And before he left, he managed to see most of his family and have good moments when he knew who everyone was.

Grandpa C. was a sailor who was stationed at Pearl Harbor on December 7, 1941. I can't even imagine what that must have been like for him. The things that he must have seen and experienced could be Lifetime movie material. An avid golfer, even at 91 he worked part-time at a golf course so that he could golf for free and he instilled that love of golf into his sons who, in turn, instilled it into their sons. My hubby is of course, the best golfer of the bunch.

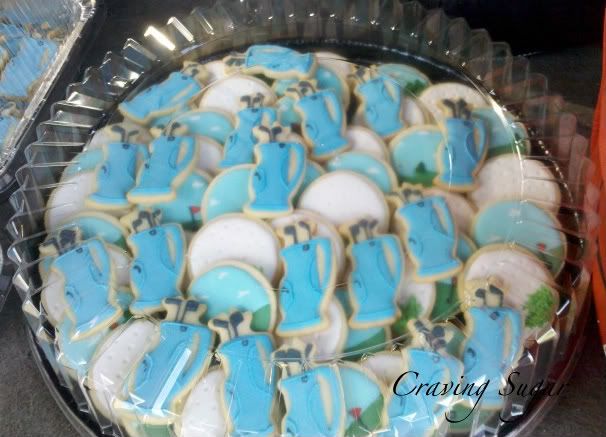
For Grandpa's service, my sister-in-law asked me to make some cookies to celebrate that love of golf I'll be honest - when I first heard the request I started to think "what the heck?" I had never heard of anyone doing decorated cookies for a funeral. But my husband assured me that it was something that Grandpa would have liked since Grandpa had a sweet tooth.

I decided on 3 designs of cookies, all related to golf in an almond sugar cookie frosted with RI. I know the cookies were a hit with the church ladies and the kids but for me, the true test was with my father-in-law. I never saw him eat a cookie but after the services he walked around the guests with the last of the cookies, making sure that everyone saw them and got a cookie. I have to say, that form of appreciation is almost good enough for me.

Since golf is such a huge part of my in-laws lives I had to go slow with these cookies. Each step that I made, I was sure to check with the hubby, lest I commit some horrible golf faux pas from which no one would ever recover.

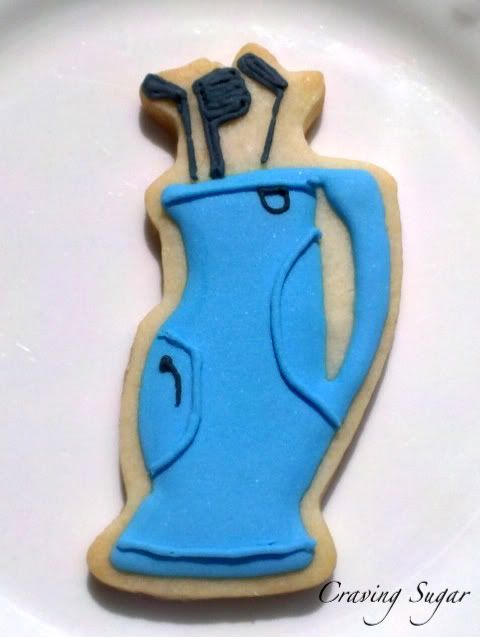
First up was the all important golf bag. While most of them have black golf bags, I just couldn't stand that though of having such dark toned cookies at a funeral so I went with blue. Nice and bright - and it would go well with the next cookie. After the flooded cookie had dried, I added some detail including the d-ring, a "zipper" and pockets. Each golf bag had a slightly different set of golf clubs that I piped in stiff RI. Since I would have had to go back and create lines in the club heads (don't ask what the lines are for. The hubby's clubs have them. I looked.) I decided to take the easy way out and just use the stiff icing and voila! Lines!


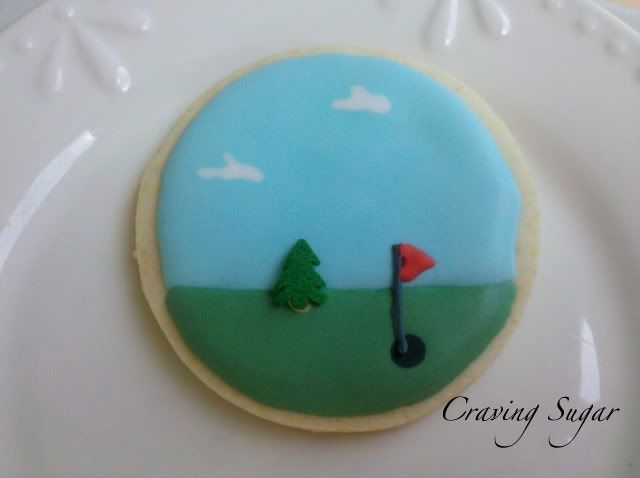
Cookie number 2 was a golf scene and I truly wish I had taken more pictures of these cookies. While the cookie below just has a lone tree, some cookies had sand traps and water hazards! After this design had been flooded with the blue, I added clouds, then flooded with the green, and added the hole. Once the cookie dried, added the flag and pole for a 3-d effect. I was planning on numbering the holes but those flags were small! Oh well, best intentions and all that.


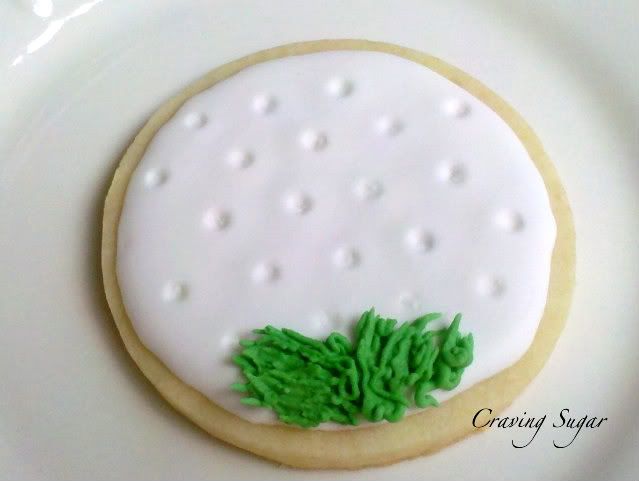
The final cookie in theory, should have been the easiest. It was a flipping golf ball for crying out loud! But no, it wasn't. I went through trial and error with this one. I cold have used MMF which would have been the easiest way to go and would have held dimples very well. But, I wanted to continue using RI so I blew through half a dozen cookies trying to find the best way. I don't know if my process was the right way, but it got the job done.


While I still can't believe I did cookies for a funeral, in the end, I'm glad I did them because in my heart, I know that Grandpa would have enjoyed them.

Wednesday, February 2, 2011

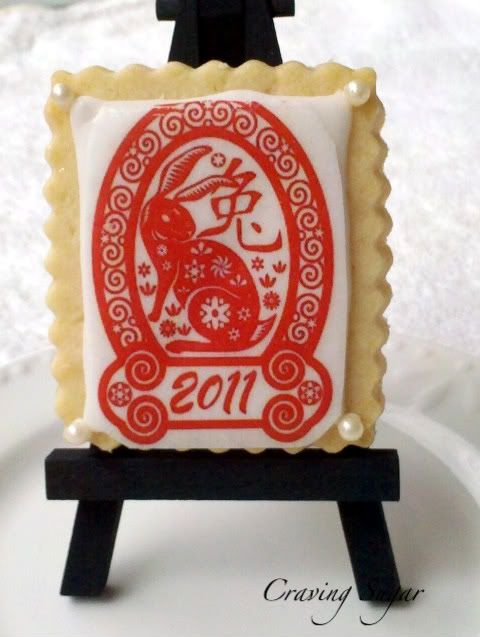
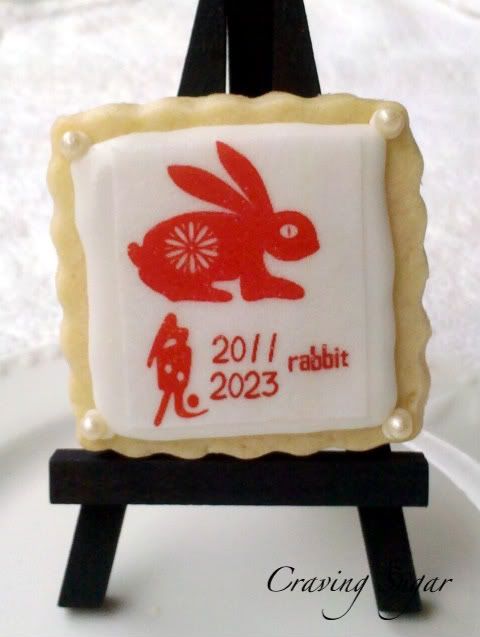
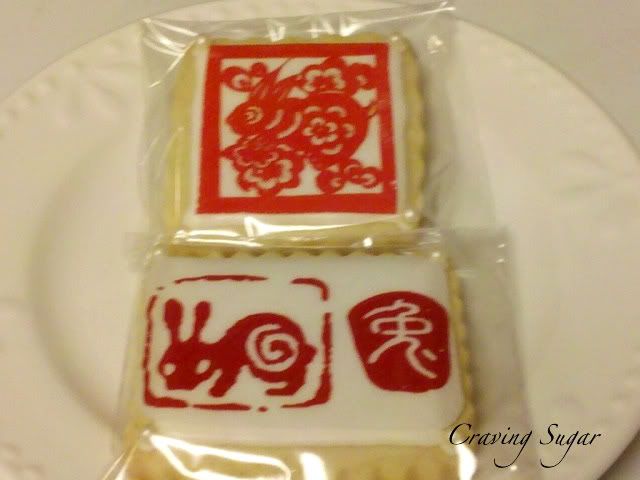
Year of the Rabbit


Tomorrow marks a new year - the year of the rabbit! Rabbit people are calm, conservative, detail-oriented, graceful...things that I am not. They also tend to get along extremely well with others. Again, something I do not do. Thank goodness I was born in the year of the horse. Horse people are impatient, rarely listen to advice, good with their hands, and have contradictions in their character. Yup, that pretty much describes me. As my husband and he will definitely agree.

To celebrate the Chinese New Year I decided to try a new medium - wafer paper. The paper is easy to use. Since I don't have a printer to print edible images I went ahead and purchased paper that already had the images printed on them. To use, just cut your paper to the desired size, brush a thin coat of corn syrup onto your frosted (either RI or fondant will work) cookie, and placed the paper onto the cookie. Turn the cookie image down for 30 minutes, then turn over and allow to dry completely for 12 hours. That's it! Once the cookie has dried you can embellish the cookie by adding decorations - maybe more icing, sugar pearls, really, whatever strikes you.


Why yes, that is a little cookie easel!

Once it's complete you have cookies that look like you slaved over them for hours!


Kung Hee Fat Choy! (That's happy new year.)

Saturday, January 15, 2011

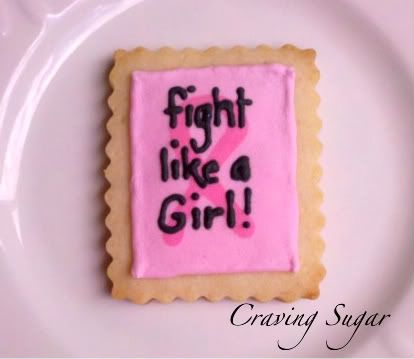
Fight like a girl!


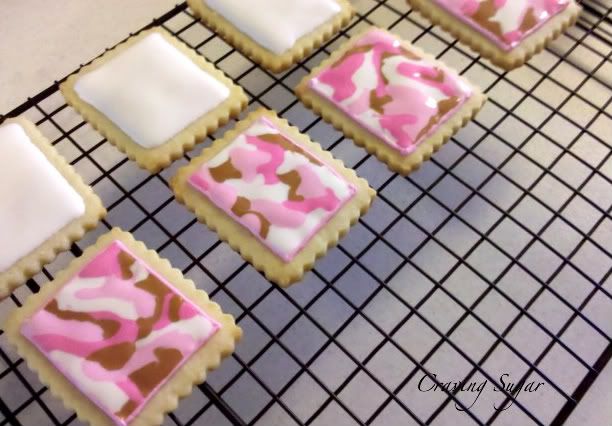
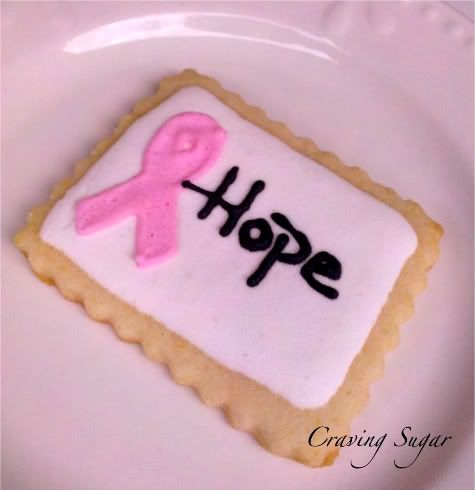
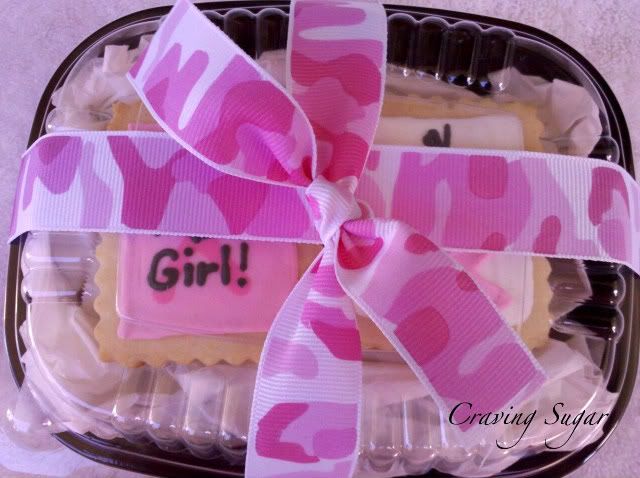
I was on FB the other day and I noticed a pic of a family member that she had titled it "Fight like a girl" and it was an awesome shot of her with fists raised and a pink hat on, ready to take on breast cancer. It inspired me to make some cookies for her and since I wanted to try out a new icing recipe from Bake at 350, the timing was perfect.

I decided to bring back the camo cookies that I had made for my brother's last deployment but make them girly and pink (BTW, I have an awesome pair of pink camo cargos with an embroidered dragon on the back. Love them...except they shrank a lot in the wash and no longer fit. Do you think if I could stretch them back out if I shove myself into them? The washing machine and I need to have a serious conversation as it keeps shrinking my clothes.)

Back to cookies, camo, all the way!

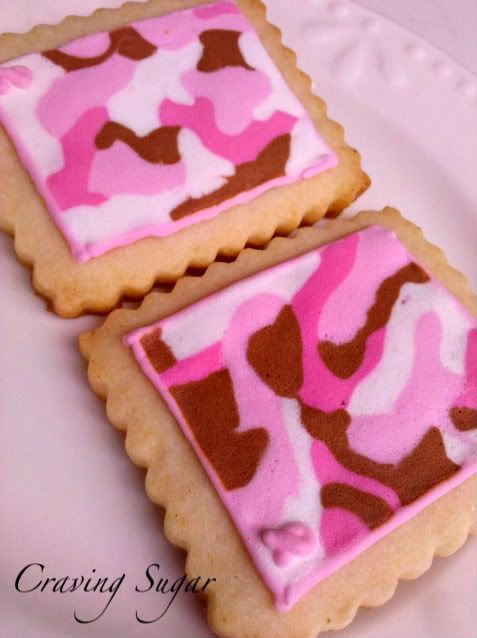
It was my first time using this icing and while I loved the consistency when it was first mixed - it reminded me of marshmallow fluff - I wasn't too fond of it after I thinned it out. Maybe it was just me but I ended up with a lot of bubbles once the cookies had dried as you can see below. Also, even after 24 hours the icing wasn't as stiff as I was used to. When I packed the cookies up the writing on the cookies got smashed and let bits of black frosting all over the cookie. It definitely was not up to my standards but I'm hoping she will like it anyway. It's the thought that counts right?

See the little ribbon in the corner? Little last minute detail. And sadly, you can see where the bubbles popped in the icing as well...a lot.

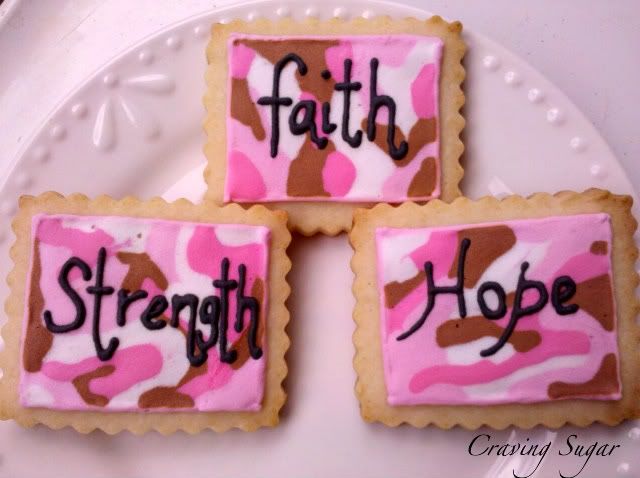
Words of encouragement cookies.

This cookie was based off the hat they were wearing in the pic.

All packaged up and ready to go. Yup, coordinating ribbon too 'cause I'm cool like that.

My overall verdict on the other icing recipe is that it's a hung jury. I haven't any problems with the recipe that I normally use so maybe if it ain't broke, don't fix it? I just wish I knew what happened. Even after I thinned the icing to flood I let it sit and got rid of the bubbles before transferring it into bottles/bags. I still have some icing left over and some dough in the freezer so maybe I'll give it another shot. Honestly though, I think Antonia's recipe has a hold on me and my squeeze bottles.

Thursday, January 13, 2011

Hello, hello! It's been a while. :o(

Oh my gosh, I am SUCH a bag blogger! In my defense - I went on a quick trip, I've had friends in town, I've been sick, then my husband got sick and worst of all, my Kitchen Aid died. YES, it died! Can you believe it?? KA's are not supposed to break or die, especially not after only 2 quick years. I must have gotten a defective machine. At least I still have my back-up KA although I have to say that after using the KA Pro, my poor back-up machine seems doll sized.

Here are some of the projects I have tried out since you saw me last:


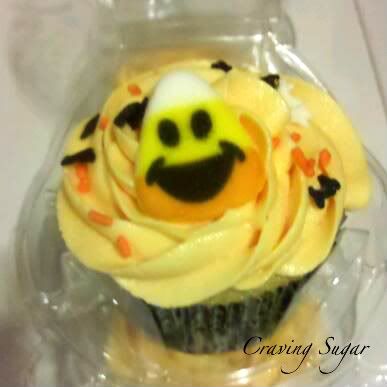
Simple Halloween cupcake guaranteed to make the recipient smile. (How could you not? Just look at that face!)


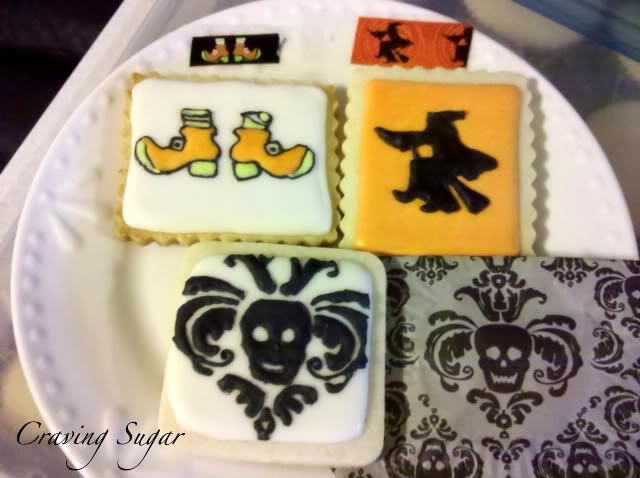
My first attempt at playing with my KopyKake. In my typical fashion, I of course had to have something difficult in there. It isn't as clean as I would like, even after using a 0 and a 00 tip but it still turned out fun. If you don't happen to agree just nod your head. I won't be able to hear you and will assume we are on the same page.

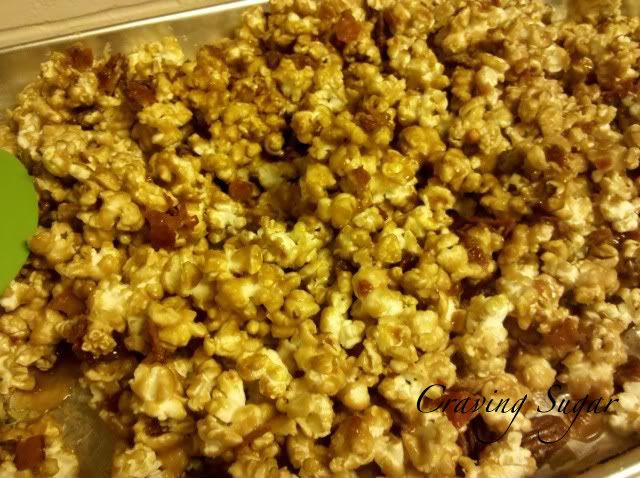
Bacon Pecan Caramel Corn. 'Nuff said. Yum!

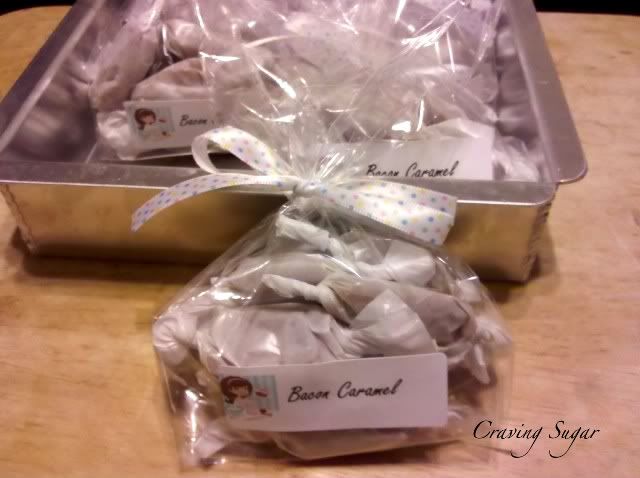
Bacon Caramel - yes, I was definitely on a bacon kick. Bacon goes with everything. Whoever says different needs a piece of this candy, STAT.

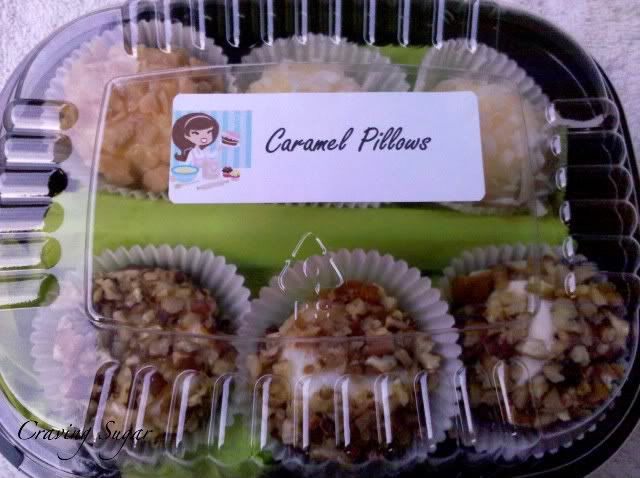
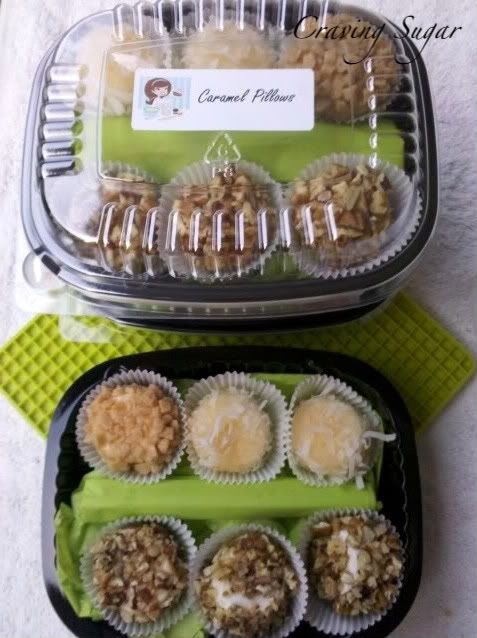
Caramel Pillows - marshmallows with caramel dipped in whatever yumminess you have on hand. These are toffee, coconut, and pecan. Now, I'm not a huge fan of coconut but these smelled so good! They also travel well. I sent some of these guys to Colorado and some to the East Coast and they all made it okay. Of course, everyone is snowed in on the mainland so that could have helped them stay fresh too.


That's what I've been up to the past few months. Hopefully I will have a new mixer that isn't doll-like. I have some fun (I think so anyway,) ideas in my head and I would like to play with them. Also, I'd like to try my hand at cakes again.

Here's hoping for a great new year! If not, Chinese New Year is on February 3 so maybe I'll just ask for a do over...

Sunday, October 17, 2010

Cupcake Cupcake Toppers


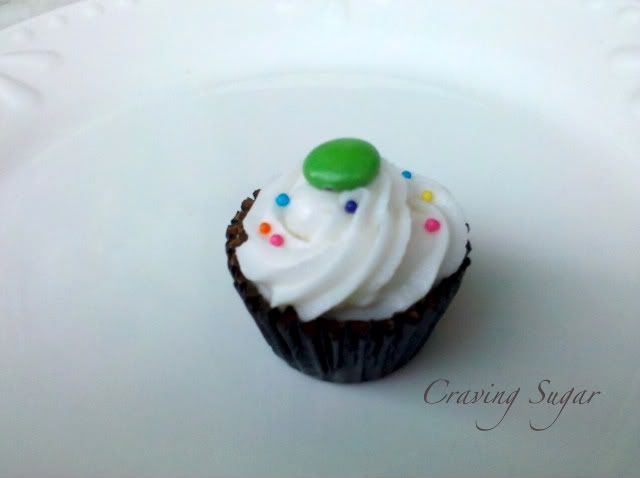
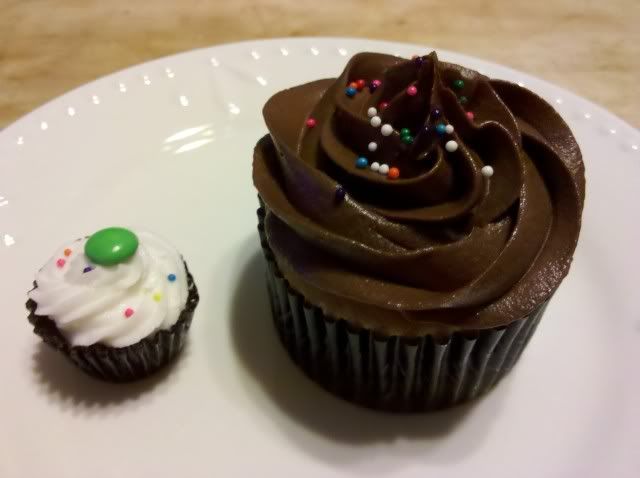
I'd like to introduce you to someone. His name is Teeny. Full name: Teeny Weeny Cupcake. Isn't he adorable with his swirl of buttercream, colorful beads and his little M&M cap? Teeny has a friend whose name is Standard Size Cupcake AKA Stan. See - here they are just chillin'.


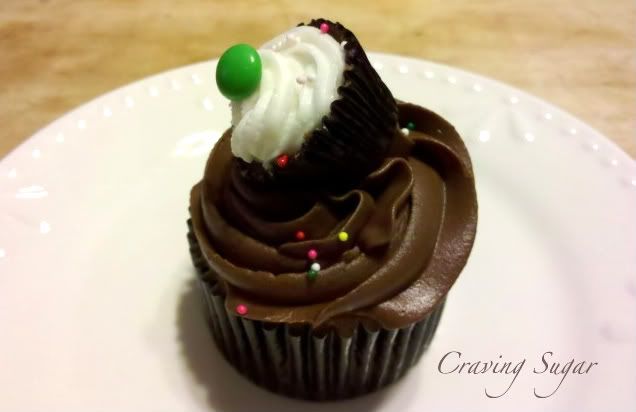
The other day these two were hanging out in my kitchen and Teeny was griping about how sick and tired he was about being so small so Stan, being the nice cuppie that he is, said to Teeny "Why don't you hop on up. It will give you a new perspective." You know, kinda like that van commercial where the guy has his daughter move up from the back of the van to the front where her brothers sit and she's all amazed. You know the one I'm talking about. Anyway, Teeny hops up and a whole new cupcake is born!


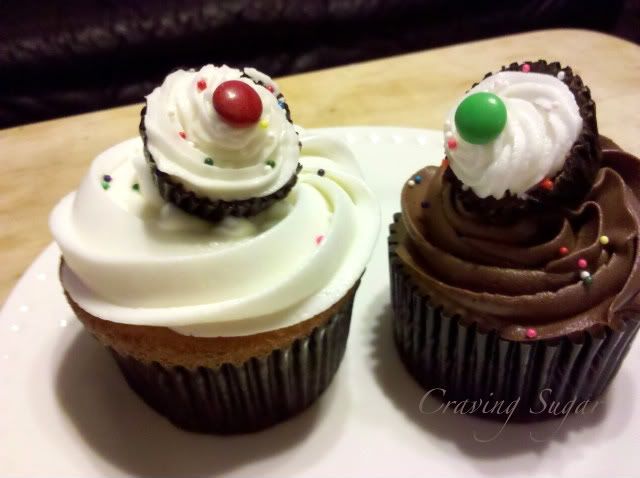
The nice thing about this new cupcake? Teeny is actually a Reese's miniature peanut butter cup! To make this super simple cupcake with the cupcake topper, just unwrap the mini cup, pipe on a swirl of buttercream or whichever kind of frosting you are using and plop him onto your standard size frosted cupcake and decorate with sprinkles and you are done! (In case you're wondering, I used M&M Mini's on the top of the pb cup.)

A word of advice: if you are leaving the papers on the pb cup, just make sure your tasters know. For some reason two of my tasters decided to pop the mini cuppie in their mouths as is. Don't worry, they figured it out when they tried to chew paper. Unless you think they need more fiber in their diet. Completely up to you.

Now, I'm off to play with my new toy. Hopefully my cookies turn out the way I want them too. If it does, you know I'll share it!

Oh, and that new perspective? It gave Teeny enough confidence to find himself a girlfriend. She's a sweetheart of a girl - all yellow cake with a sweet strawberry middle. They make a cute couple, don't they?

How crazy it this - I let life grab a hold of me (followed of course by the standard issue holiday cold) and I've neglected this poor little blog only to come back and find that the Cookbook Queen herself has somehow seen this post! Find her original Cupcake Cupcake Toppers post here!

As for what I'll do next...well d'uh!

**Waves frantically** Hello Cookbook Queen from Hawai'i! I'm sorry it's taken me so long to respond!

Monday, September 6, 2010

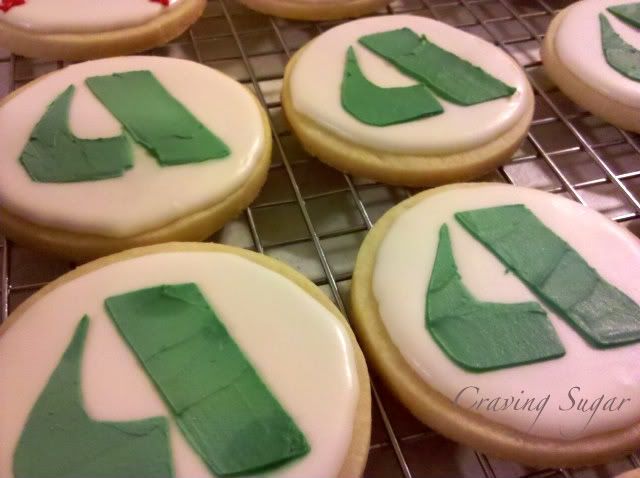
Logo Cookies


Have you ever tried to put a logo on a cookie? That's been my project for the past few days and I have tried several different methods to determine which one I like the best and by several, I mean about 3 and there's another one that I'd like to try but it involves a sizable expense so I'm not sure when I'm going to experiment with that. Out of the ones I've tried so far, there is no clear favorite. Isn't that sad? I suppose that means I need to keep going. *Insert eye roll here.*

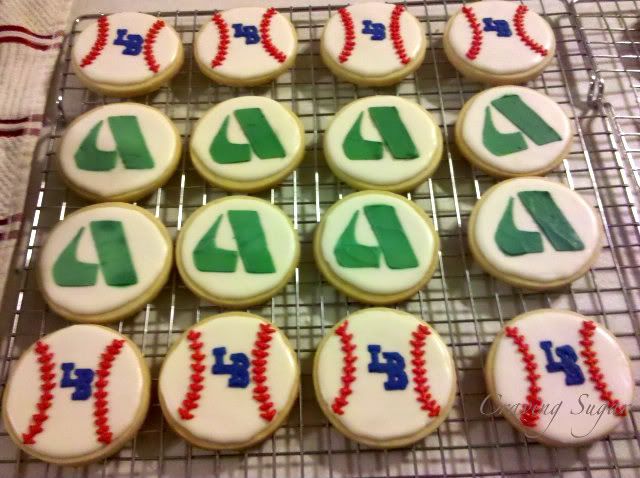
I ended up on this path because of a FB request for cookies with a simple logo on them. I could have free-handed the logo (just a simple letter) but as usual, I took it upon myself to try new tricks out. I ended up creating my own stencil which seemed easy enough - image, stencil sheet, pen and an exacto knife.

Here is my cookie version:


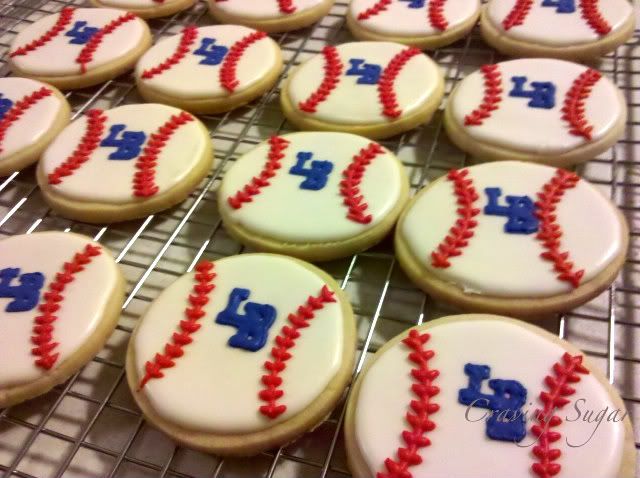
Now, because I apparently don't know how to keep things simple, I suggested 2 cookies for this party. One to signify where the guest of honor came from (above) and one for where he was going. For those, I tried the stencil thing again...it didn't quite work. The logo was too small for what I was doing (baseball cookie) and the RI said "Heck no" and smeared when I attempted to use it with the stencil. Going thing I tried it on some parchment first!

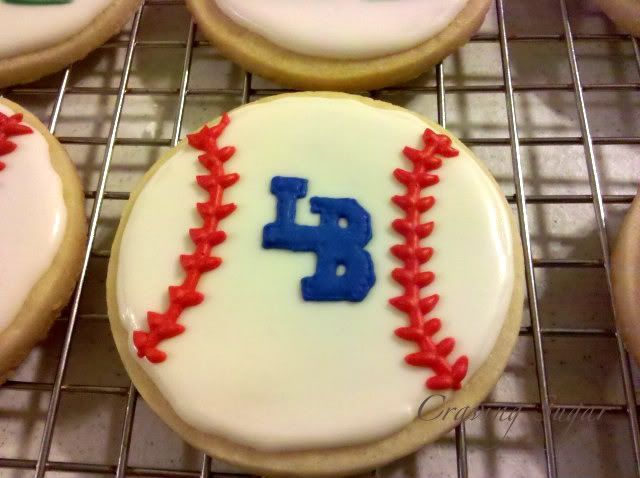
These baseballs were done free-hand but because of the size of the logo I drew them on first and went back with a teeny tiny tip to pipe over and fill them. I only did 2 dozen of those guys but let me tell you, my shoulders hurt when they were done! After piping all of the logos I went back with the red bag to add the stitches. As far as baseballs go though, they are pretty cute!


Details make the difference, don't you think?


Waiting to be bagged.

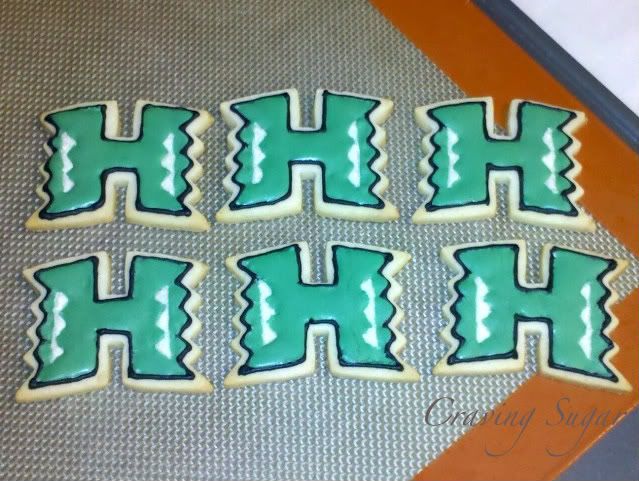
I ended up with leftover dough...okay, that's a lie. I was still in baking mode so I whipped up another batch, this one with my favorite mystery flavor (sorry, but plain Jane sugar cookie is just not my fave,) and decided to play with another cookie cutter. I had a special cutter custom made last football season and didn't get a chance to play with it so without further ado, here are the cookies made with my very own super special cookie cutter!


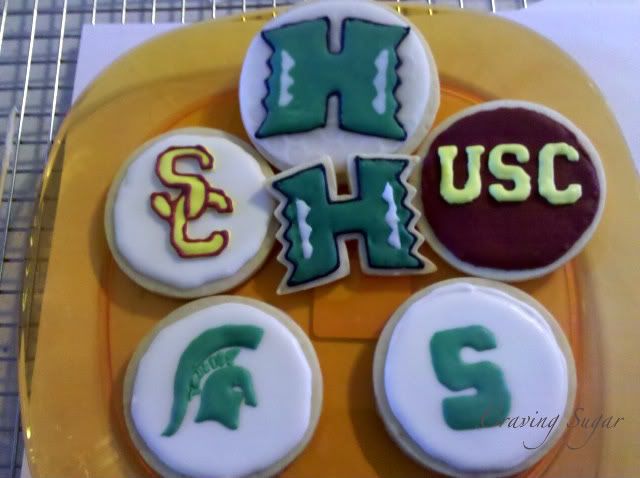
I had the UH logo made in 2 sizes - a 2.5" and a 4" and I'm not going to lie, they were pricey (copper cutters!) but I love them. For serious.

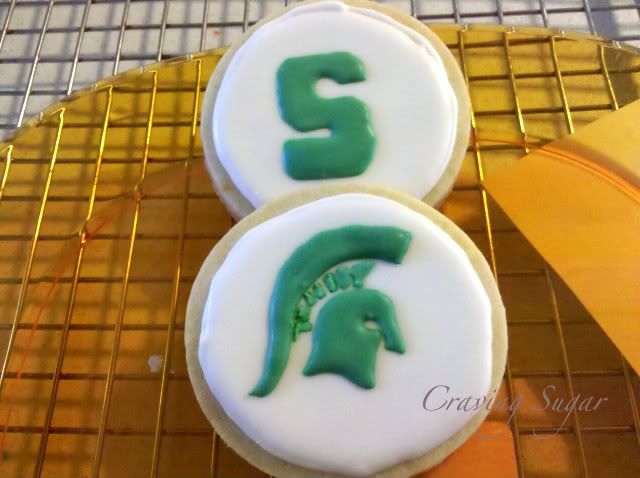
I was also thinking of some friends who were at the MSU game and since I had green RI ready to go, I decided to try my hand at a Spartan cookie. Here it is, free-hand.


Sure, my "S" is leaning towards being a "5". I believe my RI was too runny but hey, at least my Spartan looks good. Right?

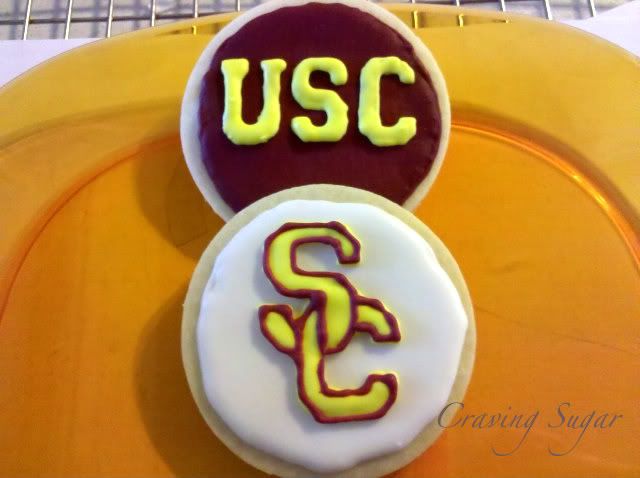
My final (for now) experiment with logos was a USC cookie. While I'm not ready to discuss that technique yet I will say that it worked much better this time around than it did the last time I tried. Maybe because I had more patience this time? (Funny, off track story. I bought new sunglasses - in and out of the store in 5 minutes, hah! Sales clerk gets me new glasses, I look at the box and it says "Impatient" on it. I ask why and she tells me that's the name of the design. How perfect is that for me??! My husband got a good laugh out of that and I haven't thrown the box away yet.)

Anywho, back to cookies, I need to work on that particular technique again but I'm think I'm close to really getting the hang of it! Thoughts?

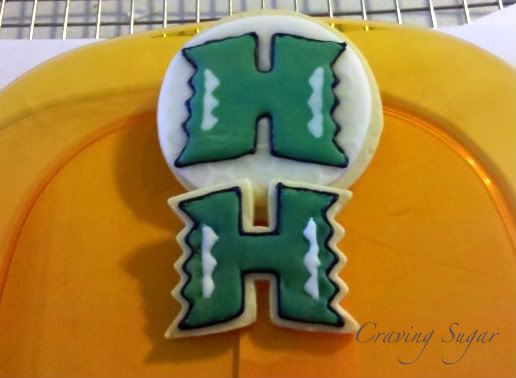
And one more UH pic to say goodbye, just because I can't let the USC pic end this blog post. =o)